布局函数
全名: manim.mobject.graph.LayoutFunction
- 类 LayoutFunction(*args, **kwargs)[源]
基类:
Protocol一个用于自动布局函数的协议,这些函数计算图的布局,供
change_layout()使用。注意
布局函数必须是纯函数,即它不能修改传递给它的图。
示例
以下是一个示例,它将节点按排序顺序排列在 n x m 网格中。
示例: 自定义布局示例 
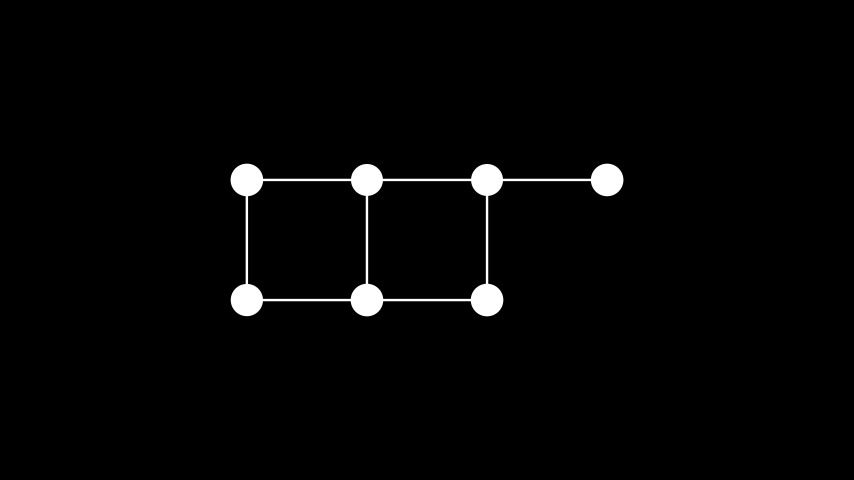
from manim import *

class CustomLayoutExample(Scene):
    def construct(self):
        import numpy as np
        import networkx as nx

        # create custom layout
        def custom_layout(
            graph: nx.Graph,
            scale: float | tuple[float, float, float] = 2,
            n: int | None = None,
            *args: Any,
            **kwargs: Any,
        ):
            nodes = sorted(list(graph))
            height = len(nodes) // n
            return {
                node: (scale * np.array([
                    (i % n) - (n-1)/2,
                    -(i // n) + height/2,
                    0
                ])) for i, node in enumerate(graph)
            }

        # draw graph
        n = 4
        graph = Graph(
            [i for i in range(4 * 2 - 1)],
            [(0, 1), (0, 4), (1, 2), (1, 5), (2, 3), (2, 6), (4, 5), (5, 6)],
            labels=True,
            layout=custom_layout,
            layout_config={'n': n}
        )
        self.add(graph)
Manim 提供了多种自动布局,可以通过将其名称作为
layout参数传递给change_layout()来使用。或者,可以将自定义布局函数作为change_layout()的layout参数传递。此类函数必须遵循LayoutFunction协议。Manim 提供的
LayoutFunction类型如下所示圆形布局: 将顶点放置在一个圆上
示例: 圆形布局 

from manim import *

class CircularLayout(Scene):
    def construct(self):
        graph = Graph(
            [1, 2, 3, 4, 5, 6],
            [(1, 2), (2, 3), (3, 4), (4, 5), (5, 6), (6, 1), (5, 1), (1, 3), (3, 5)],
            layout="circular",
            labels=True
        )
        self.add(graph)
class CircularLayout(Scene):
    def construct(self):
        graph = Graph(
            [1, 2, 3, 4, 5, 6],
            [(1, 2), (2, 3), (3, 4), (4, 5), (5, 6), (6, 1), (5, 1), (1, 3), (3, 5)],
            layout="circular",
            labels=True
        )
        self.add(graph)
Kamada Kawai 布局: 尝试将顶点放置,使其之间的给定距离得以保持
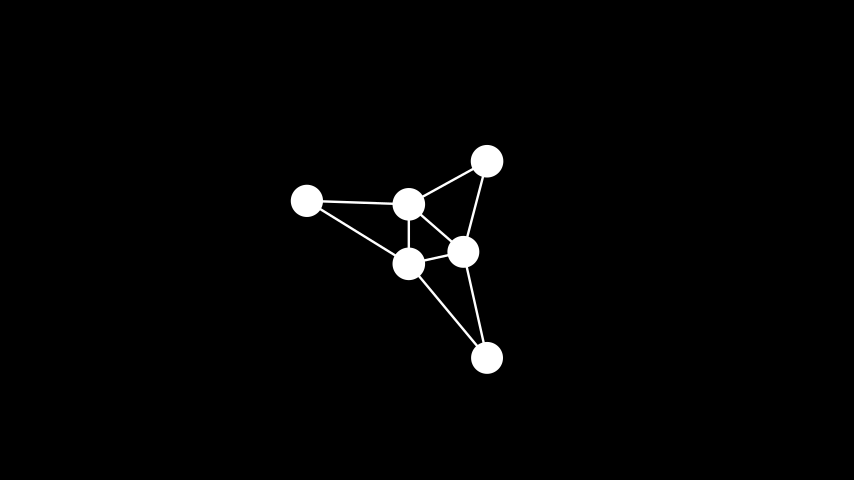
示例: Kamada Kawai 布局 

from manim import *

class KamadaKawaiLayout(Scene):
    def construct(self):
        from collections import defaultdict
        distances: dict[int, dict[int, float]] = defaultdict(dict)

        # set desired distances
        distances[1][2] = 1  # distance between vertices 1 and 2 is 1
        distances[2][3] = 1  # distance between vertices 2 and 3 is 1
        distances[3][4] = 2  # etc
        distances[4][5] = 3
        distances[5][6] = 5
        distances[6][1] = 8

        graph = Graph(
            [1, 2, 3, 4, 5, 6],
            [(1, 2), (2, 3), (3, 4), (4, 5), (5, 6), (6, 1)],
            layout="kamada_kawai",
            layout_config={"dist": distances},
            layout_scale=4,
            labels=True
        )
        self.add(graph)
分部布局: 将顶点放置到不同的分区中
示例: 分部布局 
from manim import *

class PartiteLayout(Scene):
    def construct(self):
        graph = Graph(
            [1, 2, 3, 4, 5, 6],
            [(1, 2), (2, 3), (3, 4), (4, 5), (5, 6), (6, 1), (5, 1), (1, 3), (3, 5)],
            layout="partite",
            layout_config={"partitions": [[1,2],[3,4],[5,6]]},
            labels=True
        )
        self.add(graph)
平面布局: 将顶点放置,使边不相交
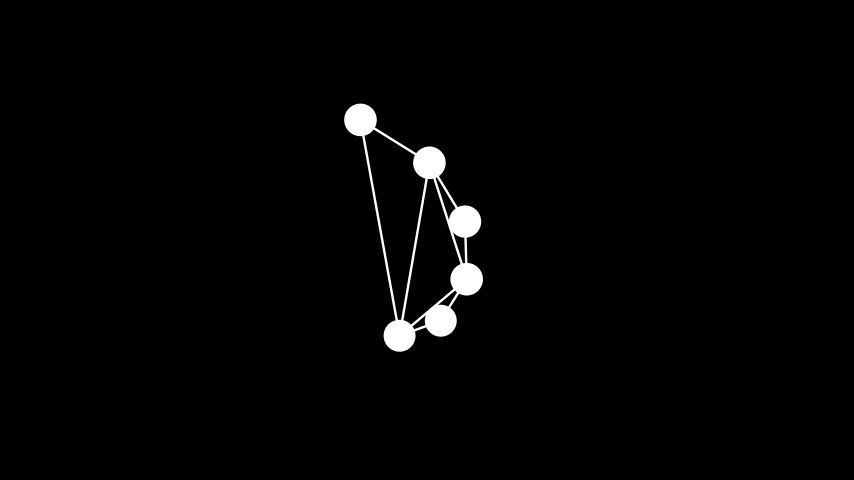
示例: 平面布局 
from manim import *

class PlanarLayout(Scene):
    def construct(self):
        graph = Graph(
            [1, 2, 3, 4, 5, 6],
            [(1, 2), (2, 3), (3, 4), (4, 5), (5, 6), (6, 1), (5, 1), (1, 3), (3, 5)],
            layout="planar",
            layout_scale=4,
            labels=True
        )
        self.add(graph)
随机布局: 随机放置顶点
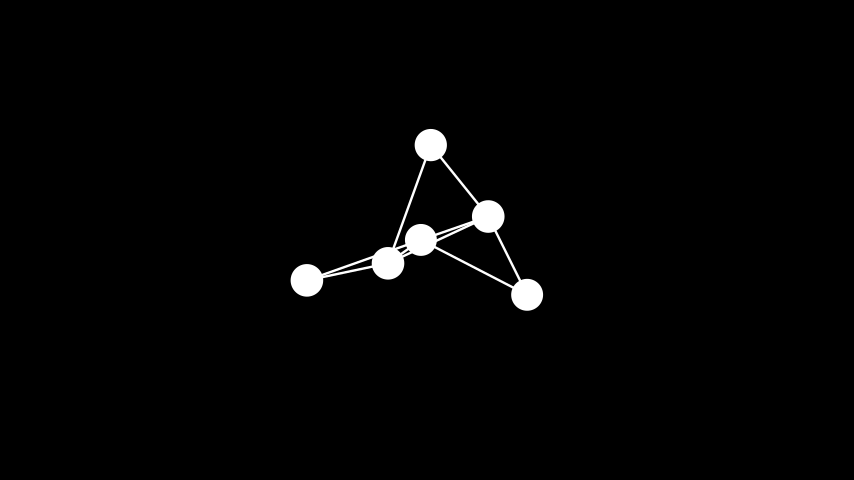
示例: 随机布局 
from manim import *

class RandomLayout(Scene):
    def construct(self):
        graph = Graph(
            [1, 2, 3, 4, 5, 6],
            [(1, 2), (2, 3), (3, 4), (4, 5), (5, 6), (6, 1), (5, 1), (1, 3), (3, 5)],
            layout="random",
            labels=True
        )
        self.add(graph)
class RandomLayout(Scene):
    def construct(self):
        graph = Graph(
            [1, 2, 3, 4, 5, 6],
            [(1, 2), (2, 3), (3, 4), (4, 5), (5, 6), (6, 1), (5, 1), (1, 3), (3, 5)],
            layout="random",
            labels=True
        )
        self.add(graph)
壳形布局: 将顶点放置在同心圆上
示例: 壳形布局 

from manim import *

class ShellLayout(Scene):
    def construct(self):
        nlist = [[1, 2, 3], [4, 5, 6, 7, 8, 9]]
        graph = Graph(
            [1, 2, 3, 4, 5, 6, 7, 8, 9],
            [(1, 2), (2, 3), (3, 1), (4, 1), (4, 2), (5, 2), (6, 2), (6, 3), (7, 3), (8, 3), (8, 1), (9, 1)],
            layout="shell",
            layout_config={"nlist": nlist},
            labels=True
        )
        self.add(graph)
谱布局: 使用图拉普拉斯算子的特征向量放置顶点(聚类节点,这些节点是比率切割的近似值)
示例: 谱布局 
from manim import *

class SpectralLayout(Scene):
    def construct(self):
        graph = Graph(
            [1, 2, 3, 4, 5, 6],
            [(1, 2), (2, 3), (3, 4), (4, 5), (5, 6), (6, 1), (5, 1), (1, 3), (3, 5)],
            layout="spectral",
            labels=True
        )
        self.add(graph)
class SpectralLayout(Scene):
    def construct(self):
        graph = Graph(
            [1, 2, 3, 4, 5, 6],
            [(1, 2), (2, 3), (3, 4), (4, 5), (5, 6), (6, 1), (5, 1), (1, 3), (3, 5)],
            layout="spectral",
            labels=True
        )
        self.add(graph)
螺旋布局: 将顶点放置成螺旋状
示例: 螺旋布局 
from manim import *

class SpiralLayout(Scene):
    def construct(self):
        graph = Graph(
            [1, 2, 3, 4, 5, 6],
            [(1, 2), (2, 3), (3, 4), (4, 5), (5, 6), (6, 1), (5, 1), (1, 3), (3, 5)],
            layout="spiral",
            labels=True
        )
        self.add(graph)
class SpiralLayout(Scene):
    def construct(self):
        graph = Graph(
            [1, 2, 3, 4, 5, 6],
            [(1, 2), (2, 3), (3, 4), (4, 5), (5, 6), (6, 1), (5, 1), (1, 3), (3, 5)],
            layout="spiral",
            labels=True
        )
        self.add(graph)
弹簧布局: 根据 Fruchterman-Reingold 力导向算法放置节点(尝试在最大化节点间距的同时最小化边长)
示例: 弹簧布局 
from manim import *

class SpringLayout(Scene):
    def construct(self):
        graph = Graph(
            [1, 2, 3, 4, 5, 6],
            [(1, 2), (2, 3), (3, 4), (4, 5), (5, 6), (6, 1), (5, 1), (1, 3), (3, 5)],
            layout="spring",
            labels=True
        )
        self.add(graph)
class SpringLayout(Scene):
    def construct(self):
        graph = Graph(
            [1, 2, 3, 4, 5, 6],
            [(1, 2), (2, 3), (3, 4), (4, 5), (5, 6), (6, 1), (5, 1), (1, 3), (3, 5)],
            layout="spring",
            labels=True
        )
        self.add(graph)
树形布局: 将顶点放置到具有根节点和分支的树中(只能用于合法树)
示例: 树形布局 
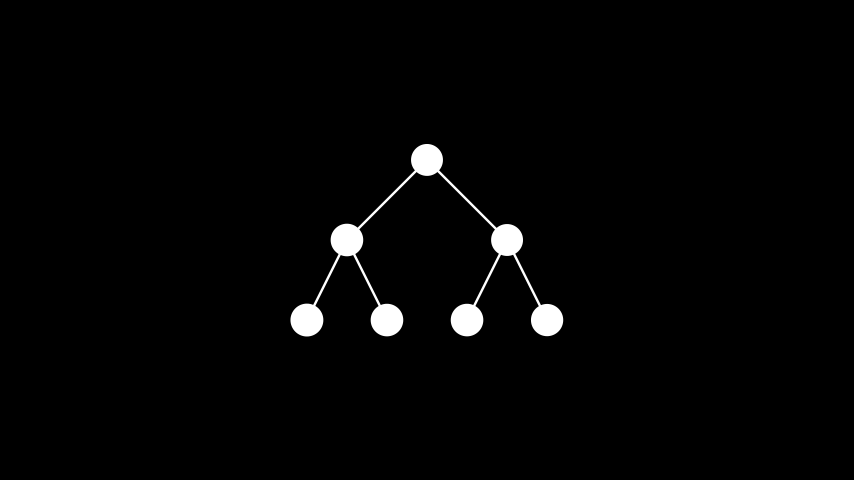
from manim import *

class TreeLayout(Scene):
    def construct(self):
        graph = Graph(
            [1, 2, 3, 4, 5, 6, 7],
            [(1, 2), (1, 3), (2, 4), (2, 5), (3, 6), (3, 7)],
            layout="tree",
            layout_config={"root_vertex": 1},
            labels=True
        )
        self.add(graph)
方法